


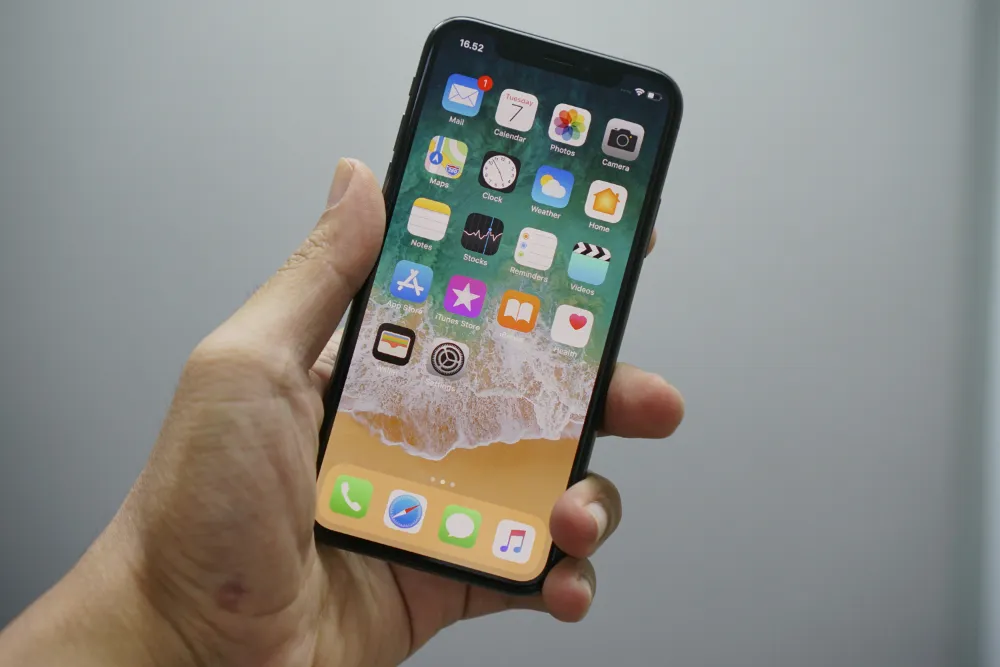
eSIM
How To Activate eSIM On iPhone?
Mar
Short Answer: To activate an eSIM on your iPhone, go to Settings > Cellular > Add Cellular Plan, then scan the QR code from your provider or use the carrier app. For manual setup, enter the details provided by your carrier. Once installed, select your data plan preferences and you’re ready to go. The entire process takes less than 5 minutes.
Say Goodbye to Physical SIM Cards Forever
Remember struggling with tiny SIM cards and that annoying little ejector tool? Or being stuck without service when traveling because you forgot to swap your SIM?
Those days are over.
Your iPhone’s eSIM technology eliminates these headaches while giving you more flexibility than ever before. Whether you’re preparing for international travel or simply upgrading your service, activating an eSIM takes just a few taps.
Which iPhones Support eSIM?
Before we dive into activation steps, make sure your device is compatible. eSIM support is available on:
- iPhone XS/XR and newer models
- iPhone SE (2nd generation and later)
The iPhone 15 series and later are completely physical SIM-free in the US, making eSIM your only option.
The Benefits of Switching to eSIM
Why even bother with eSIM? Here’s what you’ll gain:
- Multiple phone numbers on a single device (great for separating work/personal)
- Instant activation without waiting for physical mail
- Easy switching between carriers without swapping cards
- Enhanced security since nothing physical can be stolen
- Environmental benefits with no plastic SIM cards
For travelers, eSIM is a game-changer. Imagine landing in Tokyo and having local data already working on your phone without hunting for a SIM kiosk! With services like eSIM4, you can set up your international data plan before you even pack your bags.
How to Activate Your eSIM: Step-by-Step Guide
Setting up your eSIM is simpler than you might think. Let’s break it down:
Method 1: QR Code Activation (Most Common)
- Make sure you’re connected to Wi-Fi
- Open Settings
- Tap Cellular or Mobile Data
- Select Add Cellular Plan
- Scan the QR code provided by your carrier
- Follow the on-screen prompts to complete setup
- Choose your label (Primary, Secondary, Travel, etc.)
- Select which line to use for calls, messages, and data
This method works perfectly whether you’re activating service from major carriers or travel eSIMs for international trips.
Method 2: Carrier App Installation
Some providers offer activation through their dedicated apps:
- Download your carrier’s app from the App Store
- Sign in to your account
- Follow the in-app eSIM activation process
- Confirm activation when prompted on your iPhone
Method 3: Manual Activation
No QR code? No problem:
- Go to Settings > Cellular > Add Cellular Plan
- Tap Enter Details Manually at the bottom
- Input the SM-DP+ address and activation code from your carrier
- Tap Next and follow remaining prompts
Pro tip: When traveling internationally, providers like eSIM4 send instant setup information via email after purchase, making the process incredibly smooth with either QR code scanning or one-click activation.
Setting Up Your eSIM Preferences
Once activated, you’ll need to configure how your iPhone uses the eSIM:
Default Line Selection
Your iPhone will ask you to set preferences for:
- Which line to use for calls and messages
- Which line to use for cellular data
- Whether to use secondary line for data when primary has poor coverage
Choose Use This Line for Cellular Data for your daily driver or travel eSIM when abroad.
Labeling Your eSIMs
Ever wondered what happens when you have multiple eSIMs? Keeping them straight is essential.
Label each eSIM clearly:
- “Home” for your primary carrier
- “Work” for business lines
- “Travel” or country names for international eSIMs
This simple step saves confusion when switching between lines later.
Troubleshooting Common eSIM Activation Issues
Hitting a roadblock? Try these fixes for common activation problems:
“Invalid QR Code” Error
This typically means:
- Your camera didn’t scan properly (try again in better lighting)
- The code expired (request a new one from your carrier)
- Your iPhone needs a software update
Activation Failed Message
When this happens:
- Restart your iPhone
- Check for iOS updates
- Ensure you have active Wi-Fi
- Contact your carrier if problems persist
eSIM Not Appearing After Activation
Try this quick fix:
- Go to Settings > General > Reset
- Select Reset Network Settings (don’t worry, this won’t erase your data)
- Follow the eSIM activation steps again
Let’s explore why eSIMs are particularly valuable for travelers.
Using eSIM for International Travel
Have you ever been shocked by a massive roaming bill after a trip? Or struggled to find a local SIM shop in a foreign country?
eSIM solves these problems elegantly. Here’s how to make the most of it when traveling:
- Purchase a travel eSIM before your trip from providers like eSIM4
- Activate it while still at home on your Wi-Fi
- Keep your primary line for calls/texts
- Switch to your travel eSIM for data once you land
This approach gives you the best of both worlds – you’re reachable on your regular number while enjoying affordable local data rates.
For frequent travelers, eSIM4 offers coverage in over 200 countries with plans that activate automatically when you arrive at your destination.
Managing Multiple eSIMs on Your iPhone
Your iPhone can store multiple eSIMs (8-10 depending on your model), but only one or two can be active simultaneously:
Switching Between Active eSIMs
- Go to Settings > Cellular
- Tap the plan you want to use
- Enable Turn On This Line
Removing an eSIM You No Longer Need
- Go to Settings > Cellular
- Select the plan you want to remove
- Scroll down and tap Remove Cellular Plan
- Confirm removal
Remember: Removing an eSIM deletes it completely. You’ll need a new QR code to reinstall it later.
What Makes eSIM Better Than Physical SIMs?
The shift to eSIM technology isn’t just a gimmick – it offers real advantages:
- Space efficiency – Manufacturers can use the space for larger batteries or new features
- Water resistance – One less opening in your phone means better protection
- Simplified switching – Change carriers with a few taps instead of waiting for a physical card
- Dual numbers – Use separate numbers for different purposes without carrying two phones
“eSIM represents the biggest advancement in mobile connectivity since the introduction of LTE.”
The Future of Mobile Connectivity is Here
eSIM adoption is growing rapidly worldwide. Major carriers now support it, and devices are increasingly eSIM-only.
For travelers especially, services like eSIM4 are making international connectivity simpler than ever, with instant setup, affordable data plans in hundreds of countries, and 24/7 support when you need it.
As you embrace this technology, you’ll wonder how you ever managed with physical SIM cards in the first place!
Final Tips
To get the most from your iPhone’s eSIM capabilities:
- Keep your QR codes or setup emails in case you need to reinstall
- Update your iOS regularly for improved eSIM features
- Test your travel eSIM before departure if possible
- Use data-saving modes to extend your plan’s life when traveling
With these simple steps, you’re ready to enjoy all the benefits eSIM technology has to offer!
Have you activated an eSIM on your iPhone already? What was your experience like? Whether you’re a tech enthusiast or just looking to simplify your mobile experience, the switch to eSIM is one you won’t regret.